Build your own Active Directory lab with Ludus and GOAD
Table of Contents
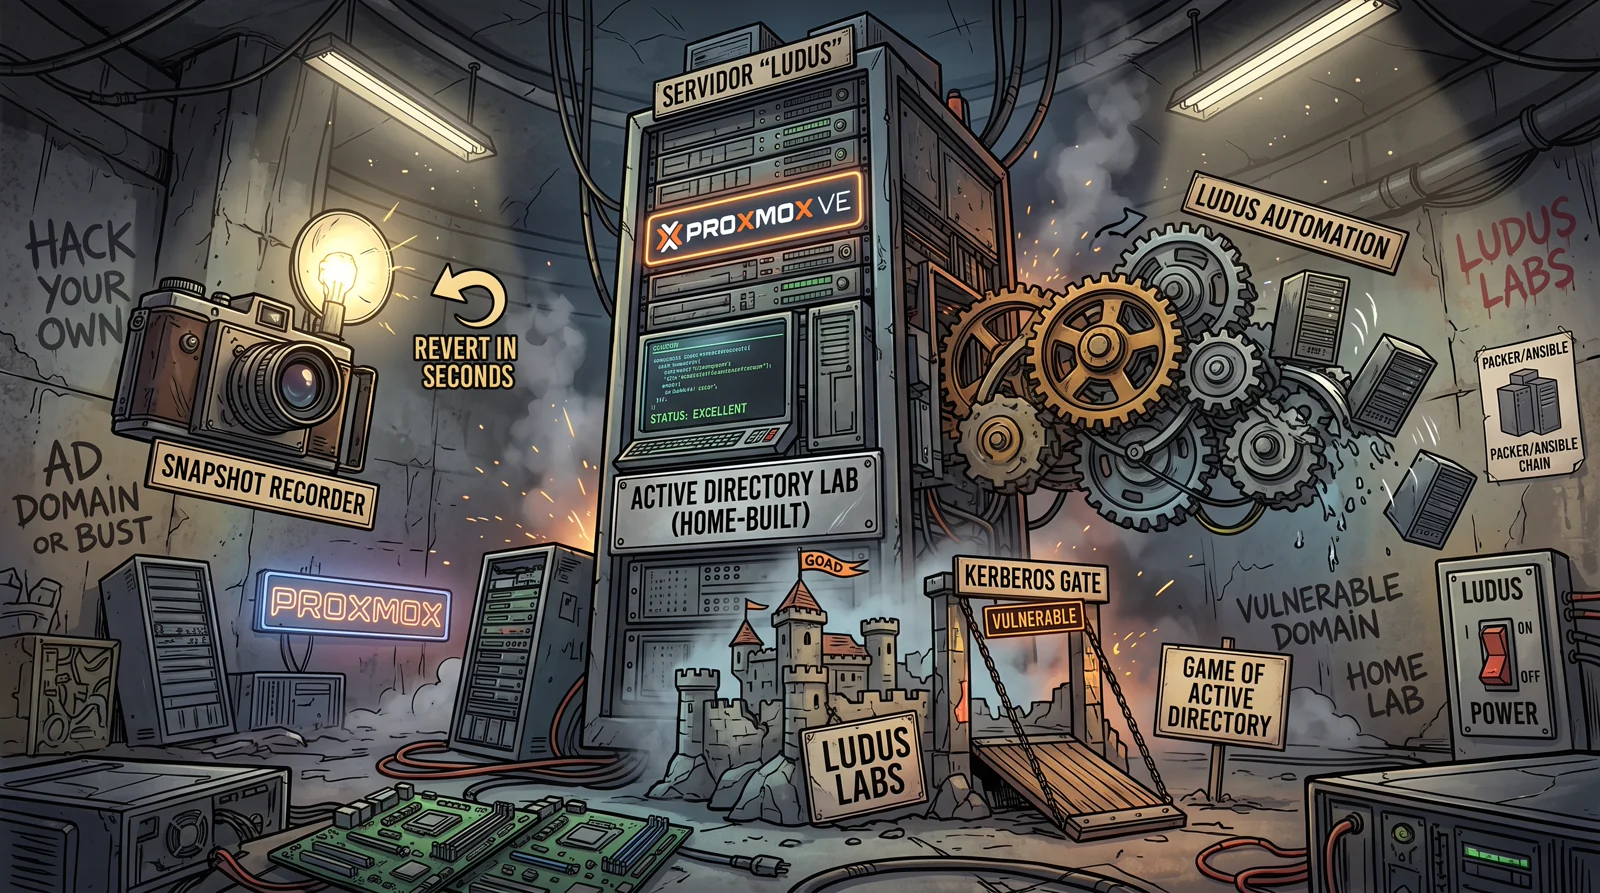
Hack The Box’s Pro Labs are great, but they cost 49 €/month and, above all, you cannot publish anything you do in them. If what you want is a whole Active Directory domain to break, revert and start over, and on top of that to write about it without asking anyone’s permission, the answer is to build it at home.
In this post I build an AD lab from scratch with Ludus , which automates the whole cycle on top of Proxmox, and I deploy GOAD (Game of Active Directory) on it, Orange Cyberdefense’s vulnerable lab. The result is a full domain that you power on whenever you want, break at will and return to its original state in twenty seconds with a snapshot.
I am also writing this as a note to myself: I built mine months ago and, when I came back to it, I no longer remembered even half of the steps.
🗺️ What we are going to build
        Your box (Kali)
              │
              │  WireGuard  (198.51.100.0/24)
              ▼
   ┌──────────────────────────────┐
   │   Physical server "ludus"    │   Debian 12 + Proxmox VE
   │   ────────────────────────   │
   │   Ludus  ──►  Packer         │   builds the templates
   │          ──►  Ansible        │   deploys and provisions
   │                              │
   │   ┌────────────────────────┐ │
   │   │  Range  10.2.0.0/16    │ │
   │   │  router ─ DC01 ─ SRV01 │ │
   │   │           └─ LX01      │ │
   │   └────────────────────────┘ │
   └──────────────────────────────┘
Ludus is the piece that makes it manageable. It installs Proxmox for you, builds the Windows and Linux templates with Packer, brings up the machines, puts them in VLANs, sets up a router, gives you a WireGuard tunnel to get in from your Kali and manages the snapshots. All with an API and a command line client.
GOAD provides the content: a domain with users, trust relationships, badly set ACLs, delegations and vulnerable services. It ships several labs in the same repository, so once the infrastructure is built you can switch scenarios.
🧰 Requirements
These are the specs of my server, which is a recycled box, so you can see you do not need anything fancy:
| Motherboard | MSI Z97 GAMING 5 |
| CPU | Intel i7-4790K (8 threads) with VT-x |
| RAM | 19 GB |
| Disk | 218 GB SSD |
On that it currently runs 13 virtual machines: 9 templates and 4 for the lab. As a reference, my current lab uses 12 GB of RAM with three VMs powered on.
⚠️ The disk suffers more than the RAM. Each Windows template reserves about 250 GB of provisioned disk (even if in practice it uses much less) and I am at 74% usage. If you are tight, build only the templates you are really going to use.
You also need dedicated hardware: Ludus installs Proxmox, so the box becomes a hypervisor and you will not be able to use it for anything else.
🔧 Phase 1: the BIOS
This step gets forgotten and then the machines do not boot or crawl. The names are from an MSI board, but the equivalent is on any of them:
| Option | Value | Where |
|---|---|---|
| Intel Virtualization Tech | Enabled | OC → CPU Features |
| Intel VT-D Tech | Enabled | OC → CPU Features |
| Boot Mode Select | UEFI | Settings → Boot |
| Fast Boot / MSI Fast Boot | Disable | Settings → Boot |
| Secure Boot | Disable | Advanced → Windows 8/8.1 |
| SATA Mode | AHCI | Advanced → Integrated Peripherals |
| Intel C-State | Disable | Advanced → Power Management |
The first two are mandatory: without VT-x there is no virtualization. The rest avoids surprises at boot.
🐧 Phase 2: Debian 12
Ludus is installed on a clean Debian 12. Not Ubuntu, not Debian 13: the installer expects Bookworm.
Burn the ISO, install the base system with no graphical environment and add your user to the sudo group:
su -
apt update && apt install sudo -y
usermod -aG sudo YOUR_USER
Take the chance to pin the server’s IP on the router by MAC (DHCP binding), because you are going to point a lot of things at it and you do not want it to change.
🚀 Phase 3: install Ludus
Now over SSH, with the minimal dependencies:
su -
apt update && apt install curl sudo git ca-certificates python3-debian -y
curl -s https://ludus.cloud/install | bash
⚠️ Do not do this phase from MobaXterm. Its terminal interferes with the installer. Use a normal SSH and, if possible, inside
tmux, because the process reboots the server a couple of times while it installs Proxmox.
When it finishes, check the status and write down the root API key, which is the one that lets you create users:
ludus-install-status
# Root API key: ROOT.xxxxxxxxxxxxxxxxxxxxxxxxxxxxxxxx
From here you already have Proxmox listening on https://SERVER_IP:8006.
👤 Phase 4: your user and the Proxmox credentials
Ludus is multi-user: each user has their own range, their network and their WireGuard. Create yours with the root key:
export LUDUS_API_KEY='ROOT.xxxxxxxxxxxxxxxxxxxx'
ludus users add --name "Your Name" --userid JO --admin --url https://127.0.0.1:8081
# it returns the user's API key: JO.xxxxxxxxxxxxxxxx
The --userid matters: it is the label that everything of yours will carry (the network, the VMs, the WireGuard peer). I use JO, and that is why my router is called JO-router-debian11-x64.
Now switch to your user’s key, which is the one you will always use:
export LUDUS_API_KEY='JO.xxxxxxxxxxxxxxxx'
ludus users list
And pull the credentials to log in to Proxmox over the web:
ludus users creds get
💡 Put the
export LUDUS_API_KEYin your.bashrc. Without that variable the client answers[FATAL] No API keyand not a single command works.
📦 Phase 5: the templates
This is where the time goes. Ludus uses Packer to build its own templates: it downloads the ISO, does an unattended install, installs the guest tools and leaves the image ready to clone.
ludus templates list
The first time you will see them all at FALSE. To build them:
ludus templates build                                  # all of them
ludus templates build -n win2019-server-x64-template   # just one
ludus templates logs -f                                # follow the process
⏱️ This takes hours, and that is normal. Leave it overnight. If something gets stuck,
ludus templates abortstops the process, and if you need the brute force route,pkill packeras root.
These are the ones I have built:
+------------------------------------+-------+
|              TEMPLATE              | BUILT |
+------------------------------------+-------+
| debian-11-x64-server-template      | TRUE  |
| debian-12-x64-server-template      | TRUE  |
| kali-x64-desktop-template          | TRUE  |
| win11-22h2-x64-enterprise-template | TRUE  |
| win2022-server-x64-template        | TRUE  |
| ubuntu-24.04-x64-server-template   | TRUE  |
| win2019-server-x64-template        | TRUE  |
| win2025-server-x64-template        | TRUE  |
| win2025-server-x64-tpm-template    | TRUE  |
+------------------------------------+-------+
Adding your own template
The templates live in the Ludus repository and can be modified. The case I ran into: Windows Server 2025 without TPM. Ludus ships the TPM version, but for an AD lab the TPM is unnecessary and complicates the snapshots.
git clone https://gitlab.com/badsectorlabs/ludus.git
cd ludus/templates
cp -r win2025-server-x64-tpm win2025-server-x64
cd win2025-server-x64
mv win2025-server-x64-tpm.pkr.hcl win2025-server-x64.pkr.hcl

# rename the template and the source inside the .pkr.hcl
sed -i 's/win2025-server-x64-tpm-template/win2025-server-x64-template/' win2025-server-x64.pkr.hcl
sed -i 's/win2025-server-x64-tpm/win2025-server-x64/' win2025-server-x64.pkr.hcl
Removing the TPM means you also have to touch the Autounattend.xml, because the unattended install is prepared for a GPT disk with an EFI partition. Without TPM the layout changes: you leave one system partition and one OS partition, and you have to fix the target PartitionID, which goes from 3 to 2.
And you register it and build it:
ludus templates add -d ~/ludus/templates/win2025-server-x64 --force
ludus templates build -n win2025-server-x64-template
ludus templates logs -f
🌐 Phase 6: WireGuard for your attacker machine
The lab lives on an isolated network. To attack it from your Kali, Ludus gives you a WireGuard tunnel:
ludus users wireguard --user JO
It returns a full configuration. Copy it as is into your Kali:
sudo nano /etc/wireguard/ludus.conf
[Interface]
PrivateKey = <yours>
Address = 198.51.100.2/32

[Peer]
PublicKey = <the_server_one>
Endpoint = SERVER_IP:51820
AllowedIPs = 10.2.0.0/16, 198.51.100.1/32
PersistentKeepalive = 25
sudo wg-quick up ludus     # connect
sudo wg-quick down ludus   # disconnect
The bug that had me patching by hand for months
The tunnel came up and I reached the lab with no problem, but the lab machines could not answer me back: no reverse shells. The reason is on the server, in /etc/wireguard/wg0.conf, where your peer ends up like this:
[Peer]
PublicKey = AD0s36X1DXCA...
AllowedIPs = 198.51.100.2/32
Only with your tunnel IP. Without the lab network on that line, the server does not know how to route back to you the traffic that leaves the VMs. I used to fix it on every boot with a wg set ... allowed-ips 198.51.100.2/32,10.2.0.0/16, not realizing that command does not write to the file and is lost on reboot.
The definitive solution is to edit the file and leave it like this:
AllowedIPs = 198.51.100.2/32, 10.2.0.0/16
and apply it hot, without dropping the tunnel:
sudo wg syncconf wg0 <(sudo wg-quick strip wg0)
⚠️ That block is marked as
# Ansible managed, so if you run the installer again or recreate the user, it will overwrite it. Note it down.
🏗️ Phase 7: deploy the lab
A Ludus range is defined with a YAML. You could write it yourself, but the interesting thing is that GOAD already ships the config made for Ludus.
git clone https://github.com/Orange-Cyberdefense/GOAD.git
cd GOAD
./goad.sh          # the first run creates ~/.goad/
Configure GOAD to talk to Ludus by editing ~/.goad/goad.ini:
ludus_api_key = JO.xxxxxxxxxxxxxxxx
use_impersonation = no
⚠️ If your API key contains a
%, you have to double it (%%) in this file. It is a PythonConfigParserand%is its interpolation character. If you do not, GOAD fails with an error that says absolutely nothing about the real cause.
Now grab the config of whichever lab you want. I use DRACARYS:
cp ~/GOAD/ad/DRACARYS/providers/ludus/config.yml .
cp ~/GOAD/ad/DRACARYS/providers/ludus/inventory .

# strip the range_id prefix from the VM names
sed -i 's/{{ range_id }}-//g' config.yml
That config.yml is the Ludus range directly. This is mine:
network:
  external_default: ACCEPT        # internet for the VMs
  wireguard_vlan_default: ACCEPT  # your Kali can reach the VMs

ludus:
  - vm_name: "DC01"
    hostname: "DC01"
    template: win2025-server-x64-template
    vlan: 10
    ip_last_octet: 10
    ram_gb: 4
    cpus: 2
    windows:
      sysprep: true
  - vm_name: "SRV01"
    hostname: "SRV01"
    template: win2025-server-x64-template
    vlan: 10
    ip_last_octet: 11
    ram_gb: 4
    cpus: 2
    windows:
      sysprep: true
  - vm_name: "LX01"
    hostname: "LX01"
    template: ubuntu-24.04-x64-server-template
    vlan: 10
    ip_last_octet: 12
    ram_gb: 4
    cpus: 2
    linux: true
Notice how the IP is formed: the vlan: 10 and the ip_last_octet combine inside your 10.2.0.0/16 network, so DC01 ends up being 10.2.10.10. Ludus also brings up its own router at 10.2.10.254.
And you deploy it:
ludus range config set -f config.yml
ludus range deploy
ludus range logs -f      # follow the provisioning
ludus range status       # until it says SUCCESS
Ludus creates the VMs and then Ansible provisions them: it promotes the domain, creates the users and adds the vulnerabilities. It is long. If something breaks:
ludus range errors       # only the relevant errors from the logs
ludus range abort        # stop the running ansible
When it finishes you should see this:
+------------+------------------------+-------+-------------+
| PROXMOX ID |        VM NAME         | POWER |     IP      |
+------------+------------------------+-------+-------------+
|    105     | JO-router-debian11-x64 |  On   | 10.2.10.254 |
|    106     | DC01                   |  On   | 10.2.10.10  |
|    107     | SRV01                  |  On   | 10.2.10.11  |
|    108     | LX01                   |  On   | 10.2.10.12  |
+------------+------------------------+-------+-------------+
📸 Phase 8: the snapshots
Do not start playing without taking a snapshot. It is what separates a lab from a headache: you can blow up the whole domain and go back to the initial state in seconds.
ludus power off -n all
ludus snapshots create dracarys-ok -d "DRACARYS OK" --noRAM
ludus power on -n all
Query and revert:
ludus snapshots list
ludus snapshots revert dracarys-ok
VM 106 (DC01)
└── dracarys-ok 2026-03-13 16:20:47 (DRACARYS OK)
    └── current  (You are here!)
I always take two: one before GOAD provisions, in case the provisioning goes wrong and I do not want to rebuild the VMs from scratch, and another after, with the lab already built and working.
🎮 Day to day
Once it is set up, the routine comes down to this:
export LUDUS_API_KEY='JO.xxxxxxxxxxxx'

ludus power on -n all                 # power on
sudo wg-quick up ludus                # (on the Kali) bring the tunnel up
# ... time to play ...
ludus snapshots revert dracarys-ok    # leave it as it was
ludus power off -n all                # power off
And there are three commands that do not show up in any tutorial and that save a lot of time:
ludus range etc-hosts    # generates the /etc/hosts with all the hosts in the range
ludus range rdp          # zip with the .rdp files of every Windows machine
ludus range inventory    # the Ansible inventory of the range
The first one is pure gold: you paste it into your Kali’s /etc/hosts and you can refer to the machines by name.
🧪 Check that it is alive
A quick sweep tells you whether the domain is really up:
nmap -Pn -p 88,135,389,445,3389,5985 10.2.10.10-12
A healthy domain controller answers on 88 (Kerberos), 389 (LDAP), 445 (SMB) and 5985 (WinRM). And the domain DNS has to resolve:
dig +short @10.2.10.10 dracarys.lab
10.2.10.10
🧯 Problems I ran into
- The VMs do not reach the internet. The range router does the NAT, but depending on how the network ends up it can fall short. It is fixed on the router itself (
ssh debian@10.2.10.254, passworddebian) with aMASQUERADEfor your network and, if DNS does not work, aDNATof port 53 towards8.8.8.8. - The
%in the API key ingoad.ini. I already said it above, but this one costs you half an afternoon. - MobaXterm during the install. It breaks the Ludus installer. And as a bonus, you then forget that the server password is saved only there.
- The Windows templates with TPM complicate the snapshots. If you are not going to test TPM or Credential Guard things, build the template without it.
- Careful with
ludus range rm. It destroys all the VMs in the range without asking. The templates are kept, which is what costs hours, but the lab has to be deployed again from scratch.
🎯 What else you can build
With the infrastructure done, switching labs is switching a config file. In the GOAD repository you have:
| Lab | What it is |
|---|---|
| GOAD | The full one: 5 machines, two forests and three domains |
| GOAD-Light | The reduced version, 3 machines |
| GOAD-Mini | Even smaller, for when resources are tight |
| MINILAB | A simple domain, ideal to get started |
| NHA | Ninja Hacker Academy |
| SCCM | Focused on attacking SCCM/MECM |
| DRACARYS | The one I use in this post |
And since all of this runs on your hardware, there are no publishing rules, no subscription, no machines that get retired. You can document every last step.
📝 Summary
| Phase | What you do | Time |
|---|---|---|
| 1 | BIOS: VT-x and VT-D | 5 min |
| 2 | Clean Debian 12 + sudo | 20 min |
| 3 | Install Ludus | 30 min |
| 4 | Create user and pull credentials | 5 min |
| 5 | Build templates | hours |
| 6 | WireGuard on the Kali | 10 min |
| 7 | ludus range config set and deploy | 1-2 h |
| 8 | Snapshot | 2 min |
The expensive part is phase 5, and you only pay it once. From there, building a new lab is ten minutes of config and a deploy.